Introduction
With your Docebo platform, you can create a custom report to view and analyze specific information about courses, users, or training material in your platform. In order to create a custom report, log into your platform as the Superadmin.
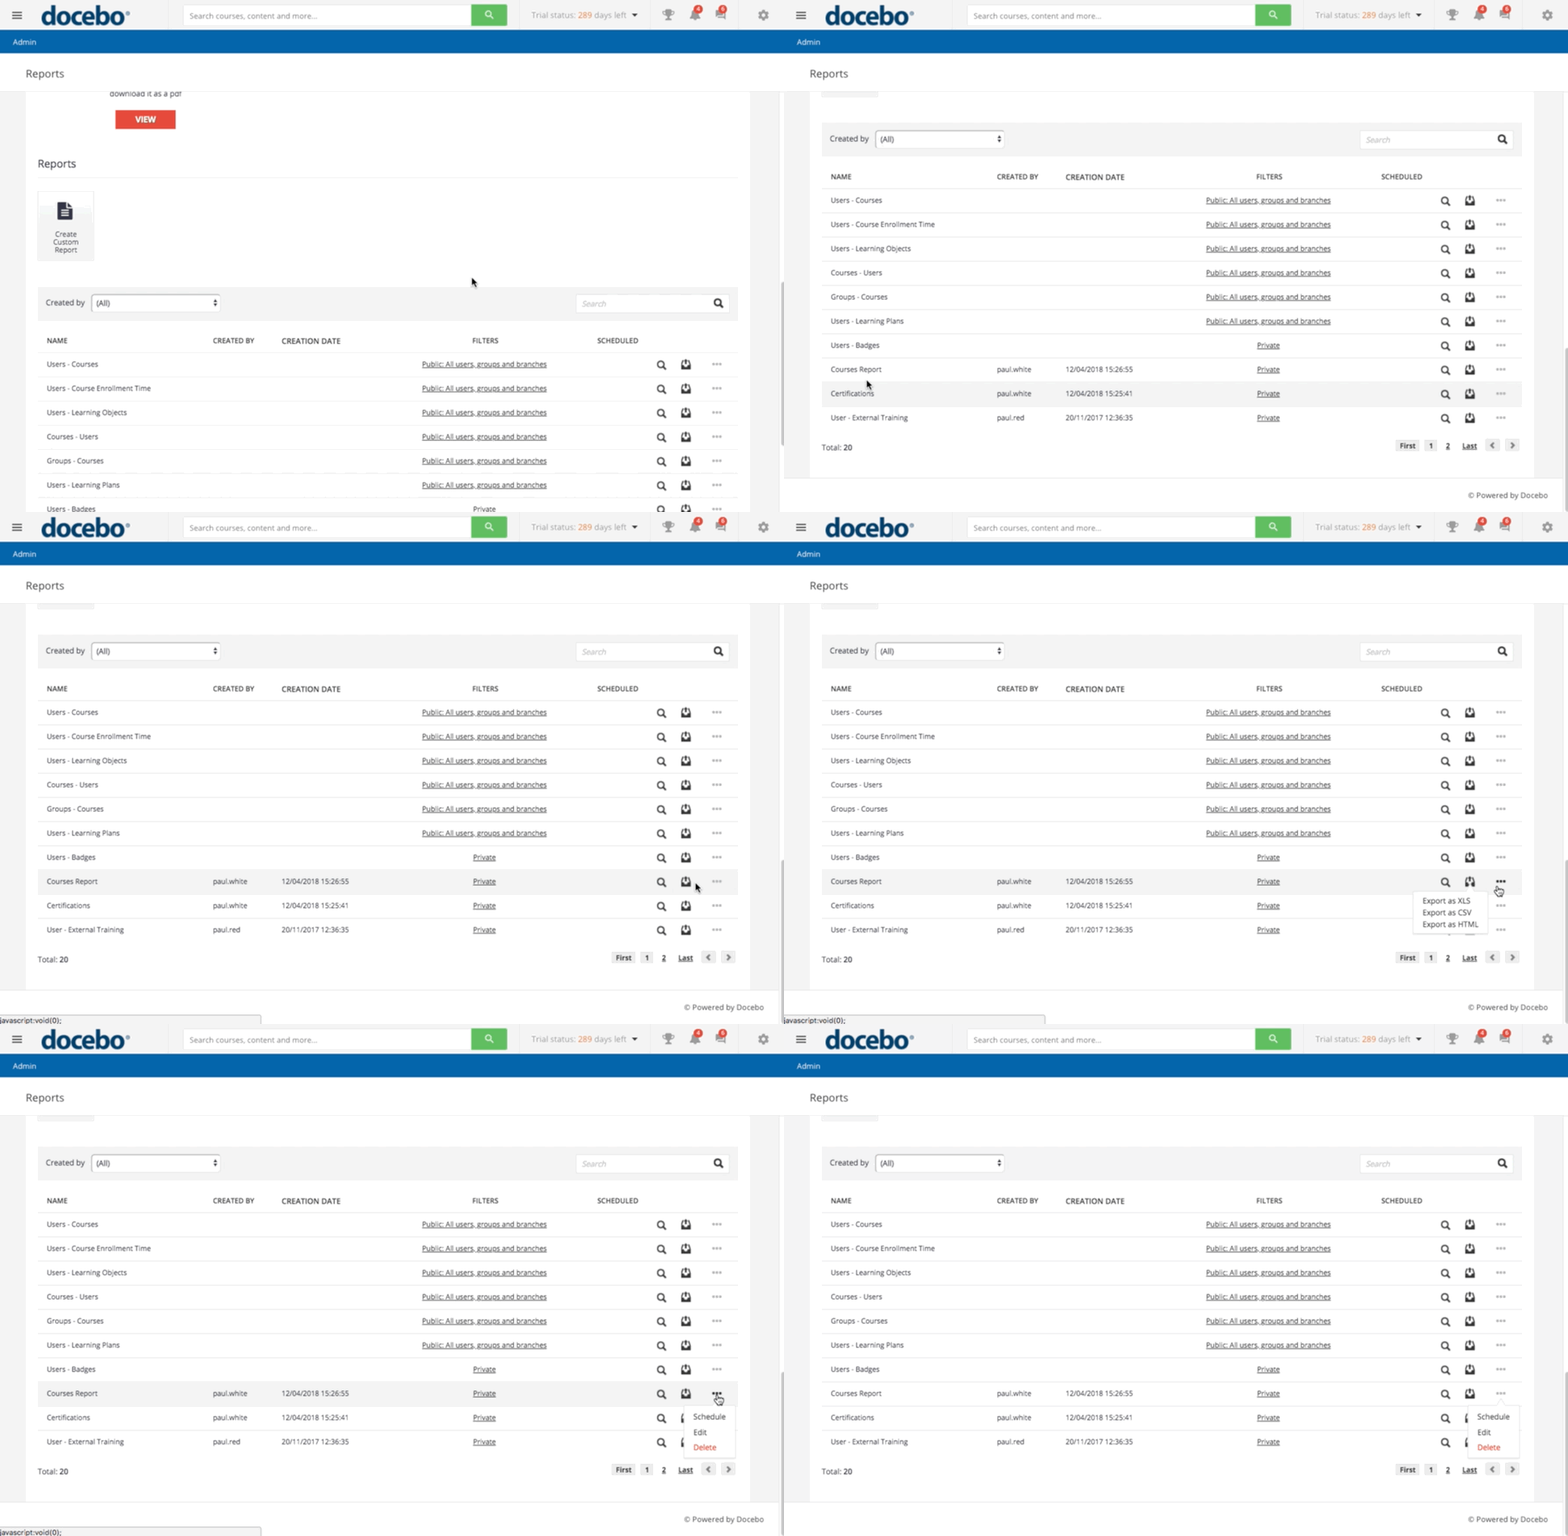
Access the Admin Menu by scrolling your mouse over the gear icon in the top right corner of your platform. In the E-Learning section, select the Reports item. To start creating the report, select the Create Custom Report button on the main Reports page.
Learn more on the New Custom Reports functionality and on how to transition to the New Reports
Generating a Report
Insert the Title of the report then select the report you would like to generate (available reports are listed at the end of this article). Press the Next button to proceed. Now, choose the users on which you would like to run the report by selecting them from the Users, Group or Branch tabs. Select Next to proceed.
Please note: When you are selecting branches of users of your organization chart to include in a report that you’re creating in the platform, please note that in order to make it easier and faster to select branches, you will see a text input field to type in branch names rather than a list of branches to select if you have more than 1,000 branches in your platform.
Now, select your courses for the report. You can choose specific courses or all of the courses on the platform. If you flag the option to select courses, you will need to then flag which courses you want from the list that will appear. The course filter option displays all courses in the platform. This means that you do not have to edit the report every time you create a new course inside the platform.
Press Next to proceed. Now, the information you select on the next page is determined by which type of report you flagged to generate. This could be user additional fields, selections of specific enrollment or creation dates, training material types, etc. If you have the Filter By options for both the Enrollment date and Completion date in the report, remember that the time zone is always in UTC.
Please Note: When you display date filters in the report, remember that the time zone used to save dates is always UTC, regardless of your time zone. As a consequence, it may happen that you find in your report dates that are different from the ones set in the report filters (it can be the day after or the day before), since dates are saved in UTC and not in your time zone.
Once you've selected all of the information you would like to include in your report, you can schedule the sending of the report, save it, view it, or return to editing mode.
Please note that if you created a report with course information, the value in the Course Name column of the report will transform into a hyperlink, which, when clicked, will take the Superadmin to the related course.
You can export the report in .xls, .csv, and .html. By pressing the menu icon in the report's row in the list of reports on the main reports management page, you can schedule, edit, or delete the report by pressing the corresponding items in the dropdown menu that will appear.
Please note: When exporting a Users-Courses, Audit Trail or Users-Training Material report in CSV in your platform, any reports with more than 2,000 rows will not sort the data in the report in order to optimize run times.
Was this article helpful?
That’s Great!
Thank you for your feedback
Sorry! We couldn't be helpful
Thank you for your feedback
Feedback sent
We appreciate your effort and will try to fix the article


