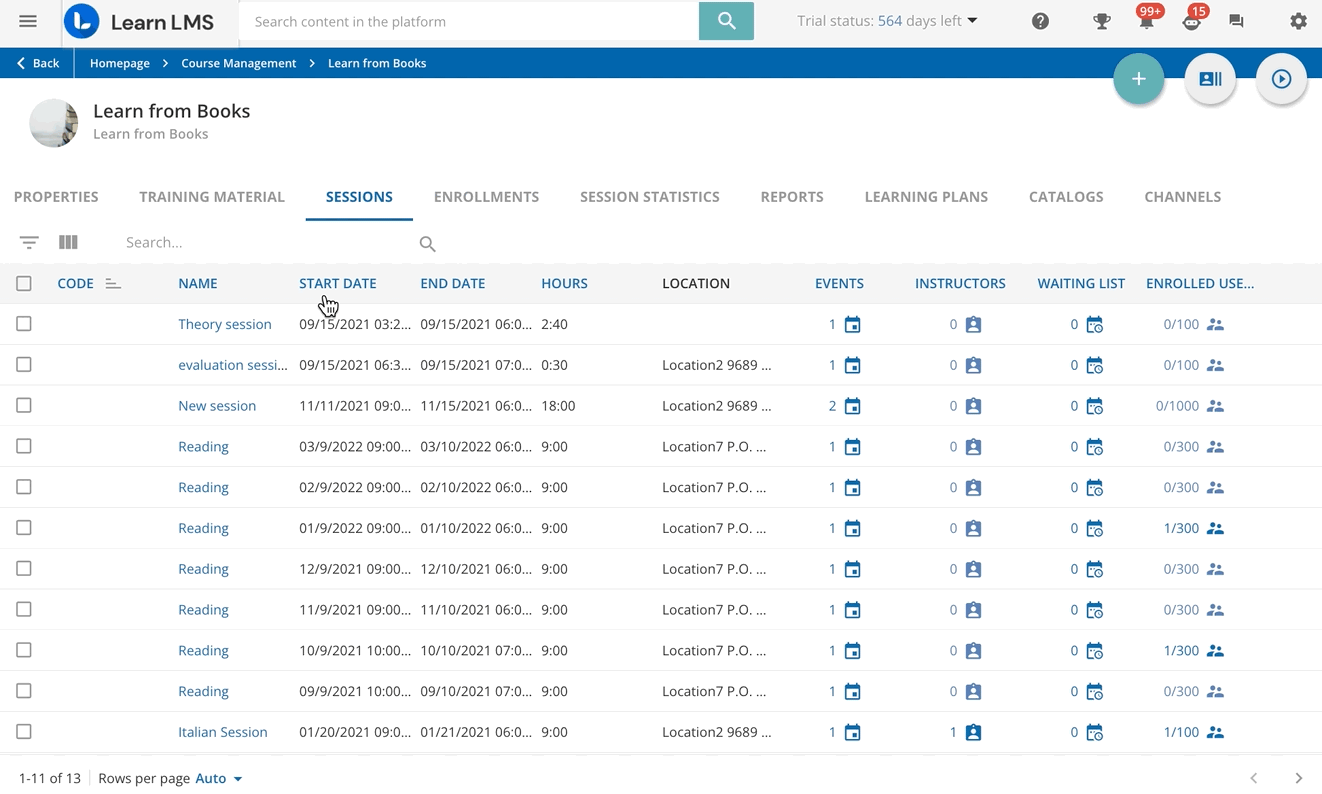
Managing Events
In order to manage the events of a session, select the session in the Sessions tab of the course, and move to the Events & Attendance tab.
Click on the filter icon on the left side of the table and use the available options to filter the events according to their attendance type, instructors, start and end date, properties, locations and videoconference tool.
Click on the Columns Selector icon to select the columns you would like to include in the table, or search for events by typing a keyword in the text search area.
Click on the ellipsis button at the end of the event row to perform one of the following actions:
Action | Description |
Edit | Edits the event details. |
Duplicate Event | Makes a copy of the event. In the right panel, type the name of the copied event and set a date for it. Optionally, you can assign the same instructors to the new event. When an event is copied, the new event will be created with all of the details of the original event, except for the venue assignment (for on-site courses) and enrollments. Access the new event details page to assign a location and a classroom to it. When duplicating events, take into account that the duplicated event may overlap other events already created in your platform. In order to prevent this behaviour, enable the Prevent overlapping of ILT sessions option in the Platform Advanced Settings, ILT tab. Remember that this option only works when duplicating events, and not when creating new ones. |
Send Email to Instructors | Send an email to all of the instructors of the event, or to a selection of them. When you select this option, a slideout panel will open for you to compose the message and select the sender and the recipients of the email. Under the message area, you will find a list of shortcodes that can be inserted into the message of the email, by copying and pasting them. This option is disabled when no instructor is assigned to the event, or when none of the instructors has a valid email address. |
Delete | Deletes the event. When an event is deleted, the event date and the user data regarding the event attendance are deleted as well. |
You can perform the same action for multiple events. Select them by checking the checkbox at the beginning of the event’s row and click on Choose Action at the bottom right corner of the page to:
- quickly assign instructors to all of the selected events
- send an email to all of the instructors of the selected events. Unlike what happens when the action is performed for a single event, you cannot select individual instructors.
- delete the selected events
Was this article helpful?
That’s Great!
Thank you for your feedback
Sorry! We couldn't be helpful
Thank you for your feedback
Feedback sent
We appreciate your effort and will try to fix the article