Managing Sessions
All of the sessions included in an ILT or VILT course are listed in the course Sessions tab. From here, click on the item in the Events column to access the event management area and on the item in the Enrolled Users column to manage the session enrollments.
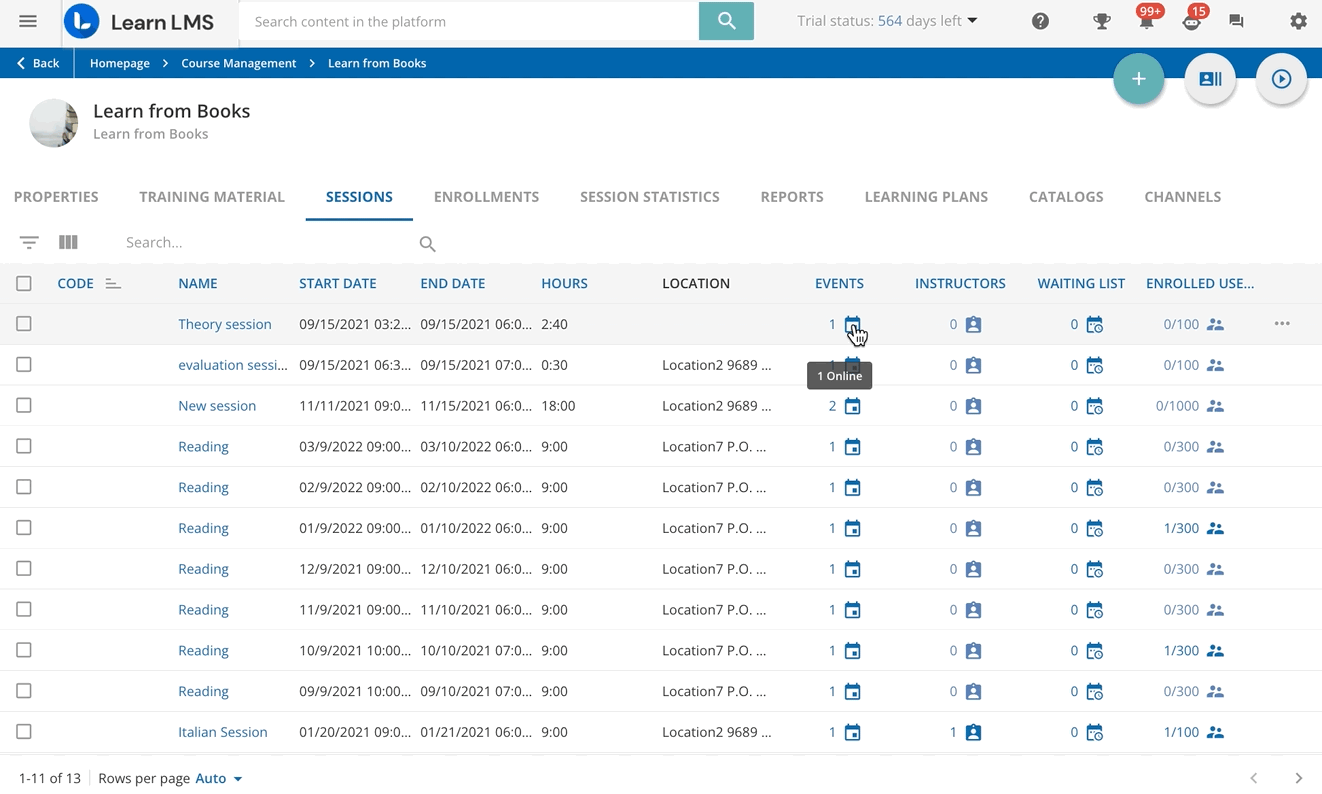
Click on the filter icon on the left side of the table and use the available options to filter sessions according to their instructors, start and end dates, location, attendance type, and other details. Click on the ColumnsSelector icon to select the columns you would like to include in the table, or search for sessions by typing a keyword in the text search area.
Click on the ellipsis menu at the end of the session row to perform one of the following actions:
Action | Description |
Edit | Edits the session’s details. |
Print the session attendance sheet | Create a physical registration page that learners will sign to mark their attendance. Make sure you have selected the proper session date from the dropdown menu at the top, then press the Generate button (please note that the attendance sheet preview shows only five rows). You can also download the attendance sheet as a PDF file, or create custom columns in attendance sheets by pressing the Configure Sheet button in the top right corner. Now you want to flag the option to Enable custom attendance sheet settings for this course. The columns for the attendance sheet below will no longer be greyed out, and you can set them as necessary. If you are creating an attendance sheet using custom columns, the first field selected for the attendance sheet will be the sorting field, and sorting will be in ascending alphabetical order. Please note that this order is only possible for standard default fields of your platform: username, first name, last name, email and language. Custom fields that you’ve created will not be ordered alphabetically. Superadmins can create a customized attendance sheet to apply to all ILT course sessions. To do so, move to the Admin Menu, and click on the Advanced Settings option in the Settings area. Move to the ILT tab and use the Custom attendance sheet area to select the information you would like in each column of the attendance sheet. It is possible to define up to five columns per attendance sheet. |
Learner view for the session | Understand what the session page will look like for learners. This page shows information for each session in which the learner is enrolled. Click on the arrow icon in the session’s row, to see information about the location together with the map preview. |
Duplicate the session | Make a copy of the session. In the right panel, type the name of the copied session and select how many duplicates you want to create. In order to select the repetition frequency, select the Set Sessions Frequency option and use the corresponding dropdown menus to select the frequency. Finally, set whether to copy session additional fields (remember that the enrollment additional fields are not duplicated). If there are mandatory session additional fields in the platform, the Additional Information tab becomes visible in the right panel. If you do not fill the additional data, you will not be able to duplicate the session.
|
Send Email to Instructors | Send an email to all of the instructors of the session and to all of the instructors of the events composing it, or to a selection of them. When you select this option, a slideout panel will open for you to compose the message and select the sender and the recipients of the email. Under the message area, you will find a list of shortcodes that can be inserted into the message of the email, by copying and pasting them. If the events scheduled in the future have at least one instructor, you can restrict the email sending only to the active and future events by selecting the corresponding option. This option is disabled when no instructor is assigned to the session, nor to the events composing it, or when none of the instructors has a valid email address. |
Delete | Deletes the session. |
From the Sessions tab, you can perform the same action for multiple sessions. Select them by checking the checkbox at the beginning of the session row and click on Choose Action at the bottom right corner of the page to:
- quickly assign instructors for all of the selected sessions
- send an email to all of the instructors of the selected sessions and of their events. Unlike what happens when the action is performed for a single session, you cannot select individual instructors.
- delete the selected sessions
Was this article helpful?
That’s Great!
Thank you for your feedback
Sorry! We couldn't be helpful
Thank you for your feedback
Feedback sent
We appreciate your effort and will try to fix the article