Introduction
When creating new users or editing existing users in your platform, you can associate an email address with their profile. The email address is used to contact users with some platform functionalities, such as notifications and team management. Although associating an email address with a user profile is not mandatory, we suggest you do so.
Associating the Email Address to the User
In order to associate an email address with a user, access the Admin Menu from the gear icon in the top right corner, and select Users in the E-Learning section. Either create a new user by pressing the plus button at the top right corner, or edit an existing one by selecting the Edit option from the menu at the end of the user line.
In the General Information tab, type the user email address in the dedicated area, and set whether the email address is verified or unverified. If the email address is unverified, you can send a notification to users to allow them to verify it.
Sending the Verification Notification to Users
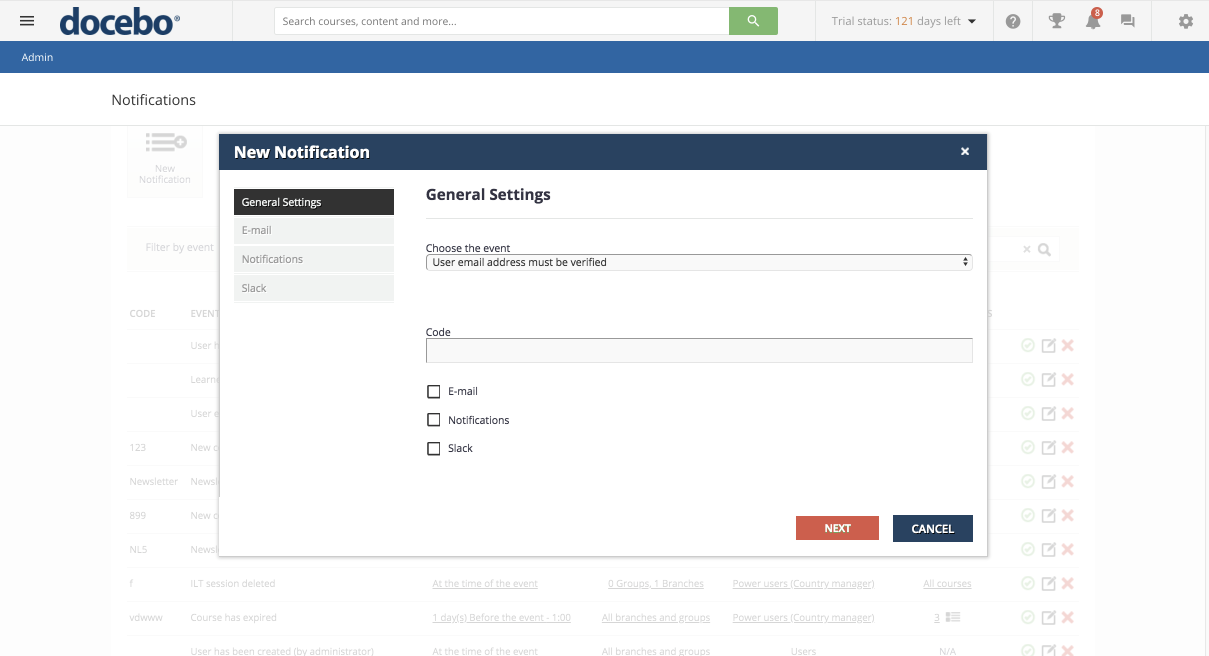
If the email status is unverified, in order to allow users to verify the email addresses associated with their user profile, you need to send them the User email address must be verified notification using the Notifications app. Please note that you must include the [verification_link] shortcode in the text body of the notification so that the notification body will include the link to verify the email address.
Once you create and activate the notification, it will be automatically sent every time you create a new user with an unverified email status.
Checking the Email Status of Many Users at One Time
In order to check the email validation status of multiple users at a time, while on the main User Management page you can either filter users according to the verification status of their email, or enable the Email Validation Status column in the All Users table. In order to activate the filter, click on the filter icon in the top left corner of the table, then click Add Filter and select Email Validation Status, then define whether to filter verified or unverified email statuses. In order to activate the Email Validation Status column, click on the Columns Management icon and select Email Validation Status.
Was this article helpful?
That’s Great!
Thank you for your feedback
Sorry! We couldn't be helpful
Thank you for your feedback
Feedback sent
We appreciate your effort and will try to fix the article


