Introduction
Docebo is a closed and protected network, meaning only registered users can access the platform. As the Superadmin, you have the ability to decide between three user registration types when creating a new user:
- The user must be created and registered by the admin.
- Users can register via free self-registration.
- Users can register via moderated self-registration.
The first option, users being created and registered by a Superadmin, is for those who need to directly manage the registration activities of their platforms. The second and third options allow the user to register and perform in the network freely. Learn more about user registration types. This manual focuses on users that are created and registered by the Superadmin.
Creating a New User
To create a new user, log in to your platform as the Superadmin. Access the Admin Menu by scrolling your mouse over the gear icon in the header. In the E-Learning section, select the Users item. On the main users' page, press the plus button at the top, then press the New User button.
In the slide-out panel, fill out all of the information on the first page, General Information. We recommend filling out all of the fields, even if not all of them are mandatory. Required fields are marked with an asterisk*. A few notes about the fields in this section:
- Username. It should be unique, but easily identifiable for both you and your users. For security reasons, usernames, and first and last names are checked according to the OWASP guidelines (opens in a new tab) and will be sanitized to avoid injections.
- Level. Select the user level from the dropdown menu. Learn more on user levels, roles, and statuses.
- Email. While inserting the email address is not required, it is highly recommended so you can send newsletters and other notifications via email.
- First and Last Name. While inserting the first and last name of the user is not required, it is highly recommended so other areas of your platform such as notifications and certificates can display the user's full name. For security reasons, usernames, and first and last names are checked according to the OWASP guidelines (opens in a new tab) and will be sanitized to avoid injections.
- Email Validation Status. You can set the email value as verified or unverified from the corresponding dropdown field. Learn more about how to check users' email verification status.
- Password. You can set password options through the platform’s Advanced Settings. For more information about the password policy, refer to the Managing the Password Policy article. Please note that if the maximum number of failed attempts is reached, the entire public IP address of the user is blocked from accessing the system for ten minutes. There is no way to manually reset the counter from the Admin side of the platform.
- Force Users to change their password at first login. This option forces a user to change his or her password upon the first login to the platform.
- Expiration. Set an expiration date to automatically deactivate the user upon reaching it. Press the calendar icon, then select a date on the calendar to set an expiration date. To remove a user’s expiration date, press the X icon next to the field. Learn more about expired users.
- Activate the user at the end of the creation process. By activating this option, the user will be created as soon as you press Create upon filling out all of the pages of the slide-out form.
- Send User has been created (by the administrator) notification to a new user. This option is active by default. Upon creating the new user, the User that has been created (by the administrator) will be sent to the email address that you added for the user. Please see more about this option in the corresponding following section.
- Language. Select the user-preferred language. The user will be able to change his/her preferred language from the user Main Menu, by clicking on the pen icon and accessing the user preferences section.
- Date Format. Select the user date format according to the language. You can edit the date format only if the Custom User Selection option is enabled in the Date and Time tab from the Advanced Settings item in the Settings section.
- Time Zone. Select the user's time zone. Select the user's time zone. You can edit the time zone only if the Let the user choose their own time zone option is enabled in the Date and Time tab from the Advanced Settings item in the Settings section.
Press Next to continue to page two of the slide-out panel, where you can assign the user to branches in the organizational chart. Select the folder from the tree, or search for a branch using the search bar. Please note that, if you have activated your platform after October 21, 2019, you are not allowed to assign the same user to multiple branches. Once selected press Next.
 On the third page of the slide-out panel, set any necessary additional fields. Once selected, press Next again.
On the fourth page of the slide-out panel, in the Manager Information section, type the names of the manager and the user you are editing in the corresponding text areas, for example, direct manager or functional manager. If this user does not have a direct manager, enable the User not to have a Direct Manager toggle.
Please note that the information related to the manager types can be viewed and managed from the Manage Managers Types page of the Users management page, by clicking Manage Teams and Managers in the top right corner and selecting Manage Manager Type from the items that appear below. Learn more on how to manage Manager Types.
If the user is not a manager, you can press Create User at the bottom of the panel to finish the creation process. Press Review to review all of the details that you’ve configured, or press Previous to go back and edit the details.
Once the user is created, you can enrol the user directly into courses, or associate subscription licenses to the user. Please note that you can only assign licenses that are visible to the branch in which the user is placed. If you’re creating a manager, refer to the following section.
Managing Users
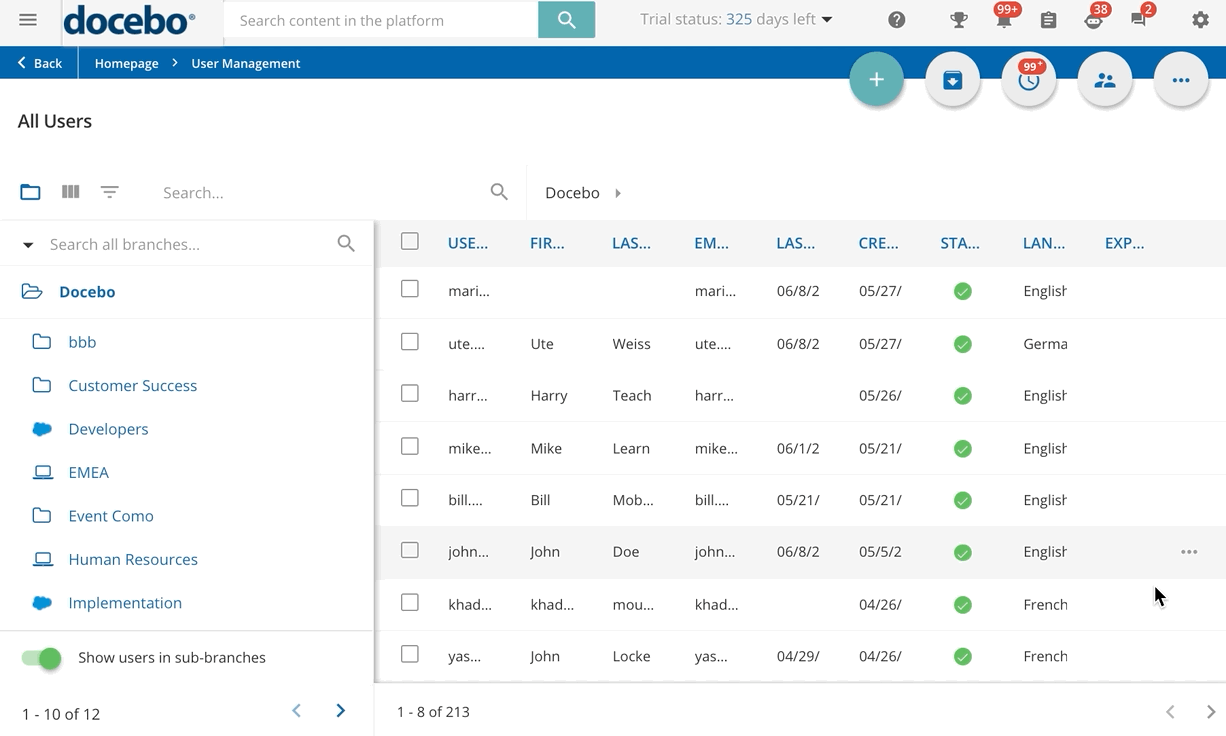
You can manage the users of the platform from the All Users page. Find the user and click on the ellipsis button at the end of the user's row.
Take advantage of the following options:
- User Personal Summary. Access the User Personal Summary, already filtered for the selected user.
- Unpair Authenticator App. If the E-Signature is active in your platform, use this option to remove the association between a user and the authenticator app he or she uses to prove his or her identity
- Merge User. Use this option to merge the user profile to another user profile.
- Channel. Use this option to quickly access the user's personal channel.
- Reset Skill Profile. When using Skills Management to manage the skills of your users, use this option to reset the skills associated to the user profile.
- Log in as This User / Login as This Power User. Use this option to log in as the user or Power user, depending on the user level. Find out more about impersonating users and Power Users.
- Jump to Power User's Profile. When the Power User app is active on your platform, use this option to access the main page of the Power User.
- Edit. In the slide-out panel, edit the information you need to change and press Update.
- Delete. By completing this action, the user will be deleted. As an option, you can keep the data of the deleted users in the platform in anonymous mode by enabling the Anonymize Deleted Users option in the Users section of the platform Advanced Settings section. Please note that this option is enabled by default if you activated your platform after September 2, 2021.
The staff.support user is created by default on your platform. This account is used for support purposes, and you cannot modify nor delete it.
Mass Actions for Users
As a Superadmin, you can perform the same action on a selection of users. From the User Management main page, select the users you would like to involve in the action by checking the checkbox next to their username and clicking on Choose Action in the bottom right corner of the page. Refer to the dedicated Knowledge Base article for further details on the available options to manage users with mass actions.
Creating a Manager
Once you’ve started creating a new user, you can designate the user as a manager in the platform and assign team members to the user. To do so, reach the Team Members tab of the slide-out panel when creating or editing a user, and activate the This user manages a team toggle. Type the names of the team members in the Team Members section. Use the search bar to look for specific users, if needed.
When finished, press Create User at the bottom of the panel to finish the creation process. Press Review to review all of the details that you’ve configured, or press Previous to go back and edit the details. Once the user is created, you can enrol the user directly into courses, or associate subscription licenses to the user. Please note that you can only assign licenses that are visible to the branch in which the user is placed.
You may need to give manager permissions to more than one user at a time. To do so, select the users you want to promote as managers from the All Users page, click on Choose Action in the bottom right corner of the page and select the Give Manager Permission option. Please note that this option is not available when all users are selected with the Select All button. As a result, the toggle This user manages a team will be enabled for all the selected users. A background job will be started when selecting more than 100 users.
Unique User ID
Once a new user has been created, he or she will be given a unique user ID (UUID), which is not editable by the user or the Superadmin, nor can it be used as login credentials. This field serves as a technical identifier for users and can be used when returning APIs and for SSO purposes. To view UUIDs, access the All Users page, press the Columns Management icon at the top of the users' list, and then press the UUID item to add the corresponding column in the table.
 The UUIDs for all users will then be displayed in a column on the users' table.
Sending a Notification to New Users
When creating a new user, you can send a notification to them via email to alert them of their new account in the platform. This option is active by default in the slideout panel during the user creation process. Upon creating the new user, the User that has been created (by the administrator) will be sent to the email address that you added for the user. Please note that this notification must already be configured and activated using the Notifications app if you want to use this feature.

If you unflag this option, you can send the notification later by selecting the user(s) in the user list on the main User Management page, then pressing the ellipsis icon in the bottom right corner of the page and selecting the Send Activation Notification item. You can also resend notification emails using this method, in case a user misses the original notification.

Was this article helpful?
That’s Great!
Thank you for your feedback
Sorry! We couldn't be helpful
Thank you for your feedback
Feedback sent
We appreciate your effort and will try to fix the article